Start by grooming and layering your base—clean skin, undershirt, high-pulled socks—then insert shirt studs from the second button down. Secure your cuff links, tie your bow tie, and tuck everything into trousers. Add your vest, buttoning from top down, then check your jacket’s shoulder seams and sleeve length (quarter-inch cuff visibility signals intentionality, not sloppiness).
Finally, coordinate your accessories in matching metals. This sequence makes formal wear manageable through deliberate attention to detail.
Groom and Get Dressed Underneath
Why does it matter what happens before you put on the jacket? Because foundation determines everything—I’m convinced you’ll agree once you’ve experienced the difference.
Start by cleansing and grooming thoroughly: shave, brush your teeth, and fix your hair. These details prevent smudges on your tuxedo jacket later. Next, layer strategically. I pull on underwear and an undershirt first, then full-length socks (no exposed skin when seated, evidently).
Your shirt comes next. Insert studs from top down, positioning the first at the second button. Tuck everything into your pants, then adjust the waistband using zippers and side clamps for that tailored precision you’re after.
These preliminary steps aren’t glamorous, but they’re necessary. They establish the refined foundation that makes wearing formal wear feel intentional rather than costume-like.
Start With Socks and Proper Undershirt Fit
How many formal occasions have you ruined by forgetting that socks matter? I’ll be honest—your socks are the foundation of a polished tuxedo look. Start by pulling them up as high as possible, creating a clean line that stays hidden beneath your trousers. This detail separates amateurs from those who actually know what they’re doing.
Your undershirt plays an equally important role. Choose one that fits smoothly against your chest, eliminating any bumps or wrinkles underneath your jacket. A well-fitted undershirt maintains that sleek silhouette formal wear demands. Together, these base layers aren’t afterthoughts—they’re prerequisites. Skip this step, and you’ll notice the difference immediately. You’ve already invested in grooming; these fundamentals deserve equal attention. They’re what separate a sloppy appearance from looking sharp.
Insert Shirt Studs and Secure Cuff Links
Once you’ve buttoned your undershirt, it’s time to add shirt studs—those small, elegant fasteners that replace ordinary buttons down your shirt front. I’ll walk you through this step.
Begin by inserting studs starting at the second button from the top, working downward through each buttonhole. This placement creates that signature tuxedo look (no visible button holes, which matters for formal wear).
Why studs matter:
- They eliminate visible buttons for a seamless front
- They catch light beautifully under formal lighting
- They demonstrate you’ve invested in proper formal wear
- They’re easier to manage than fiddling with tiny buttons
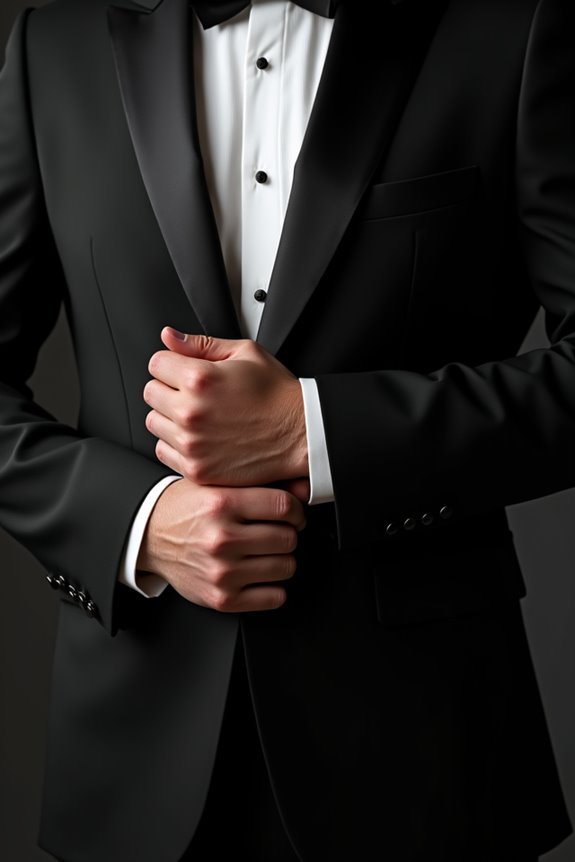
Next, align your cuff links through the cuff holes, securing them with the clasp. Position them so they’re just visible beneath your jacket sleeves—that detail separates a well-dressed appearance from a merely acceptable one.
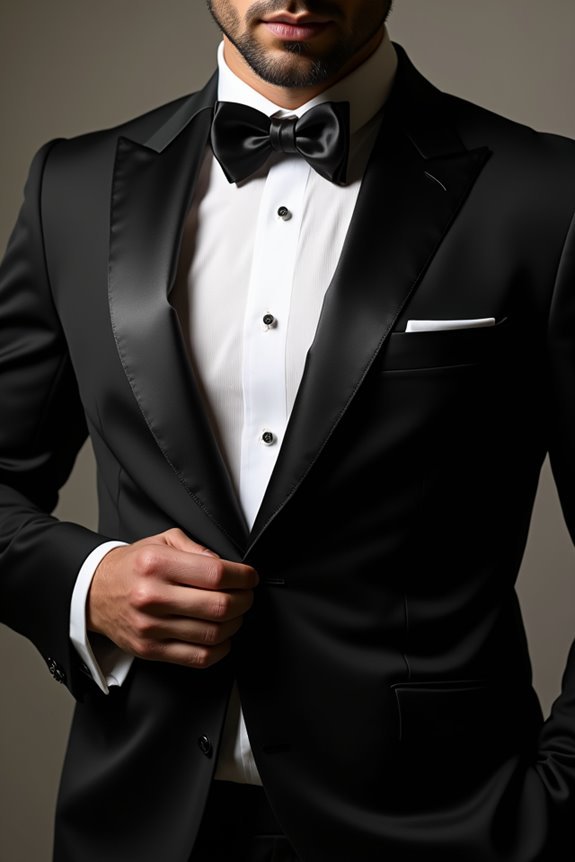
Tie Your Bow Tie and Adjust the Collar
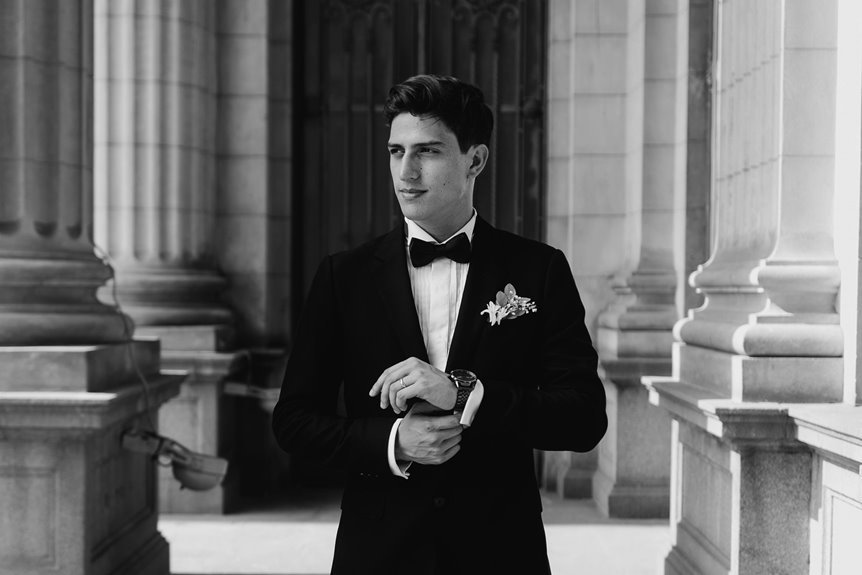
Now that your studs and cuff links are secured, I’ll walk you through the bow tie—that deceptively simple knot that’s separated the formally dressed from the merely dressed-up since the 19th century. You’ll want to master the self-tied version (pre-tied bows are, frankly, a shortcut), making it sits symmetric and snug under a perfectly flush collar that hugs your neck without gaps or rolling. Once everything’s aligned, check that your tie lies flat against the shirt, the widest parts parallel your shoulders, and absolutely nothing wrinkles above or below—because even small details betray an unfinished appearance.
Bow Tie Tying Technique
What separates the elegantly dressed from the merely formal? Mastering your bow tie technique. I’ve found that this single skill improves your entire presentation.
Here’s my approach:
- Position the bow tie around your collar with even ends, then cross one over the other and loop behind for a simple knot
- Fold the shorter end upward, pinch the center, and wrap the remaining length around to create that classic shape
- Pull the folded ends gradually, adjusting until symmetrical and snug against your collar
- Maintain horizontal positioning with collar points fully visible beneath
The collar deserves equal attention. I lightly lift the points and smooth any fabric wrinkles—those small gaps undermine everything. When done correctly, your bow tie sits perfectly balanced, signaling you’ve mastered formal dressing’s fundamental skill.
Collar Alignment and Fit
Your bow tie’s perfection means little if your collar works against it. I’ve learned that collar alignment determines whether you’ll look polished or perpetually disheveled (a distinction worth noting). Your shirt collar must sit flush against your neck with zero gaps—this frames your entire upper silhouette. After tying your bow, gently adjust those collar points to lie flat beneath your jacket lapels without bunching or creasing. The collar should hug snugly, supporting your jacket’s shoulder line for that clean, intentional appearance. Check the back too; any rolling there undermines your efforts instantly. When everything aligns correctly, your bow tie and shirt collar work in harmony, creating the framed, sophisticated look that separates the well-dressed from the careless.
Final Adjustment and Polish
Once you’ve threaded the final loop through your bow tie’s knot, the real work begins—and I mean that literally, because a tied bow tie is only half the battle. Now comes the refinement that separates the well-dressed from the casually attired.
I’ve learned that precision hinges on these critical moves:
- Center your bow tie with symmetrical loops that frame your neck
- Verify your collar fit remains flush against your neck without gaps or rolling
- Check that about a quarter-inch of shirt cuff peeks beyond your jacket sleeve
- Confirm everything stays level as you move, maintaining its shape throughout the evening
Do a final mirror check. Your collar should be snug, your bow symmetrical, and your tie properly tightened—no visible tucks or creases. You’re ready.
Pull On Trousers and Secure Your Shirt Tails
After you’ve slipped into your shirt, it’s time to pull on those trousers—and I’d argue this is where many people stumble before they’ve even reached the jacket. Pull them up to your waist carefully, ensuring your shirt-tails stay tucked into the waistband without bunching. Smooth out any ruffles; this detail separates the well-dressed from the merely dressed. Button the waistband and zip up completely—no shortcuts here. If your trousers feel slightly loose, adjust the side clamps for that tailored fit that makes you feel confident. This step matters because it establishes the foundation for your entire silhouette beneath the jacket. Getting this right means you’re not fidgeting all evening, which frankly, is worth its weight in gold at any formal event.
Put On Your Vest and Fasten the Back Strap
Why does the vest matter so much when you’ve already got the shirt and trousers sorted? Because it completes your appearance with intention and structure. The vest elevates your silhouette from merely dressed to visibly refined.
I’ll slip the vest on, positioning it to cover my waistline completely while keeping everything smooth beneath. Here’s what I’m focusing on:
- Aligning the vest with my trousers so shirt tails stay hidden
- Buttoning from top down, strategically leaving the bottom undone for movement
- Centering my back strap for balanced proportions
- Tightening the back strap evenly to prevent sagging
The back strap is important—it’s what separates a drooping vest from a tailored piece. I’ll adjust it snugly without creating tension, ensuring my front profile remains poised and controlled. That’s when I know I’ve achieved proper formal dressing.
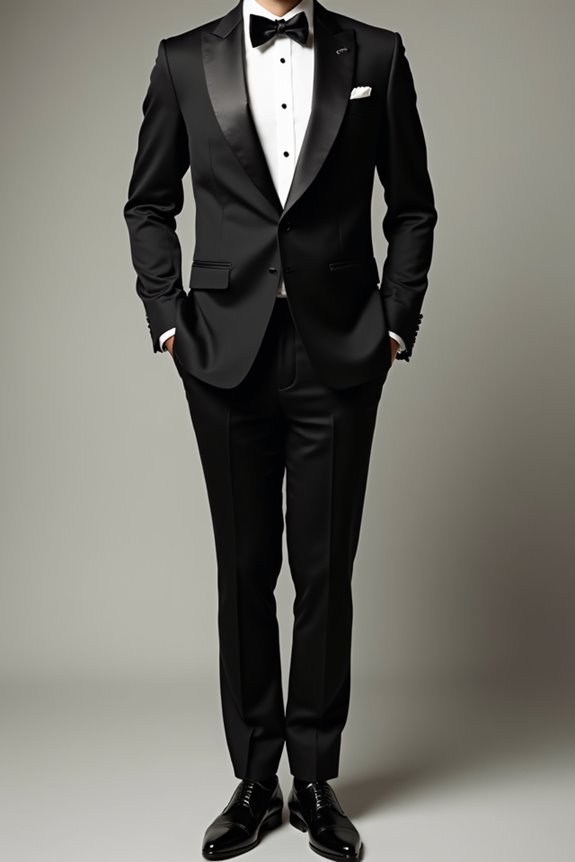
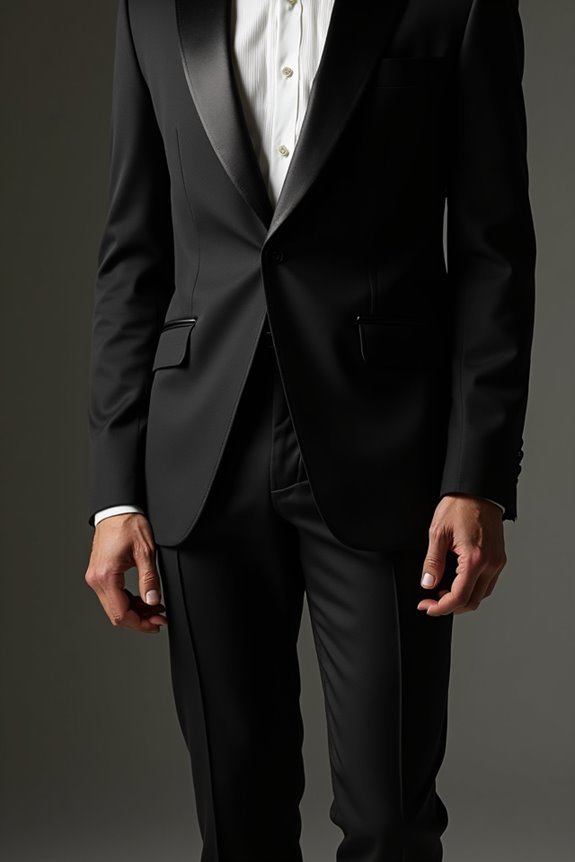
Does Your Tuxedo Jacket Fit? Checking Sleeves and Closure?
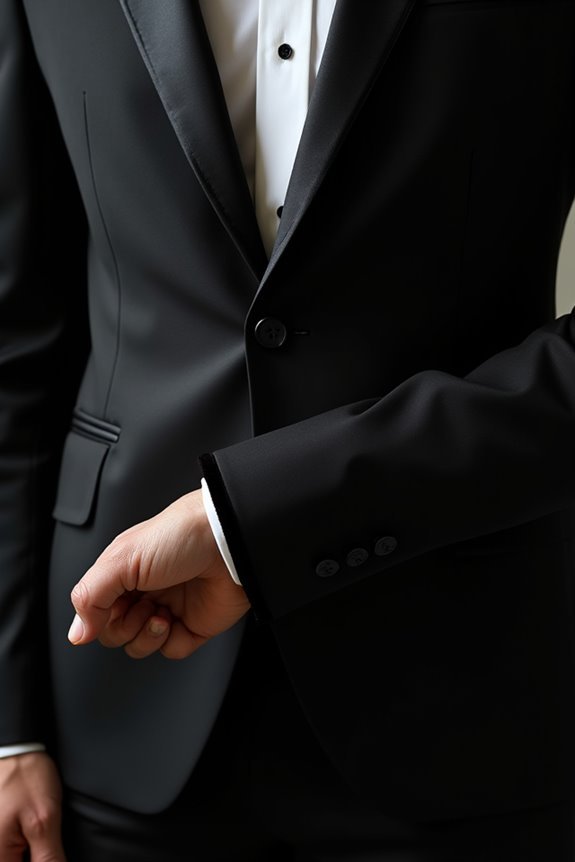
The jacket is where formal dressing either comes together or falls apart—and I’m not being dramatic. First, check your shoulder seam; it should align with your natural shoulder line without extending beyond it or bunching awkwardly. Next, examine your sleeve length. You’ll want approximately a quarter-inch to half-inch of shirt cuff visible—enough to show intentionality, not enough to look like you borrowed your father’s jacket. Finally, assess your jacket closure at your torso’s narrowest point. It should sit smoothly without pulling or gaping (tension is your enemy here). When everything aligns properly, you’ll feel the difference immediately. The jacket becomes an extension of you rather than something you’re wearing. That’s when you know you’ve achieved a refined, well-assembled appearance.
Which Tuxedo Accessories Do You Actually Need?
I’ve found that mastering tuxedo accessories separates the well-dressed from the “I rented this” crowd, so let me walk you through what you’ll actually need beyond the jacket and trousers. You’ll want to focus on three essential categories—the foundational pieces like studs and cufflinks that replace regular buttons, the bow tie that demands to be self-tied (clip-ons are a hard no), and the finishing elements like a cummerbund that complete the formal silhouette. Getting these details right elevates your tuxedo from adequate to authentically sharp.
Essential Accessories Overview
Once you’ve got the tuxedo jacket and trousers sorted, you’ll quickly realize that the real impact happens in the details—and I’m not just saying that to sound fancy.
The accessories you choose elevate a basic suit into genuine black-tie elegance. Here’s what actually matters:
- Cufflinks coordinate with shirt studs, visible beneath your jacket sleeves and setting the metal tone for your entire look
- Shirt studs replace regular buttons, starting at the second buttonhole and creating that unmistakable formal aesthetic
- Cummerbund bridges your shirt and jacket, matching the tuxedo’s silk facing for a polished transition
- Pocket square adds refinement without overwhelming other accessories
I’ve learned that matching your metal tones—whether gold or silver—creates cohesion that separates the well-assembled from the merely dressed-up. These pieces aren’t optional extras; they’re the vocabulary of formal dressing.
Studs And Cufflinks Selection
Why do studs and cufflinks matter so much when they’re barely visible? Because they’re the details that separate refined from careless. I’ve learned that studs secure your shirt front with elegance—you’ll insert them from the top down, starting at the second button, replacing regular buttons entirely. Cufflinks, meanwhile, fasten French cuffs with understated sophistication.
| Accessory | Material | Function |
|---|---|---|
| Studs | Silver, gunmetal, black onyx | Secure shirt front |
| Cufflinks | Black silk or satin | Fasten French cuffs |
| Coordinating Set | Matching metals | Cohesive formal appearance |
Choose simple, elegant pieces in silver or black onyx—nothing ostentatious. Your studs and cufflinks should coordinate with your lapel facing and pocket square, creating harmony. That’s not overthinking it; that’s respecting the tradition you’re joining.
Finishing Touches And Details
So what actually separates a properly dressed man from one who’s merely wearing a tuxedo? It’s the finishing touches—those details that elevate a costume into genuine elegance.
The right accessories complete your entire appearance:
- Cufflinks in silver, gunmetal, or black onyx reveal approximately half an inch beyond your jacket sleeve, signaling intentionality
- Bow tie in black silk or satin (preferably self-tied) anchors your neckline with authentic sophistication
- Cummerbund or waistcoat sitting at your natural waist creates visual harmony with your lapels
- Shirt bib featuring marcella or piqué fabric with covered plackets maintains that pristine, uncluttered front
These elements aren’t ornamental—they’re the language of black-tie formality. When you nail these details, you’re not just attending the event; you’re belonging to it. That distinction matters more than you’d think (and tailors definitely notice).