
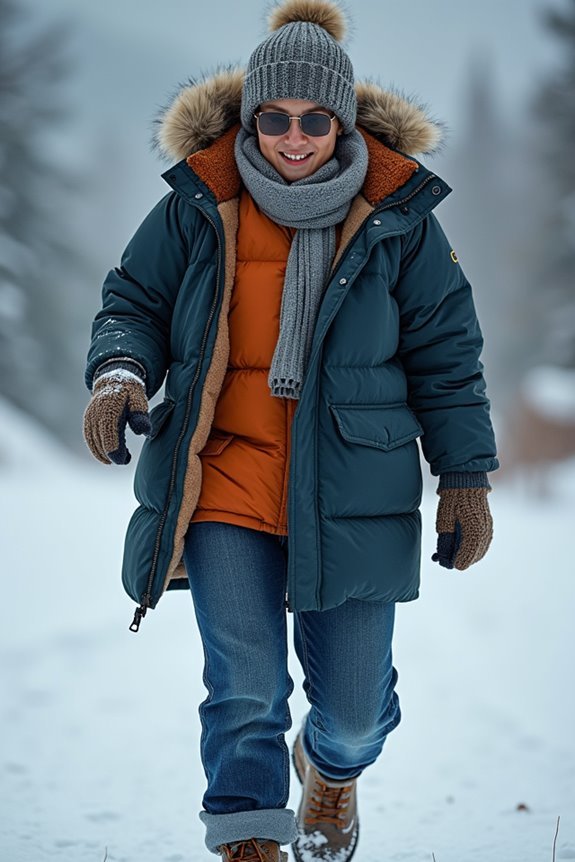
I’ve learned that freezing weather demands a coordinated system, not just piling on clothes. Start with moisture-wicking base layers (skip cotton—it’ll betray you), add insulating mid-layers that trap air, then cap it with a windproof shell. Shed layers as you move and add them back during rest breaks, monitoring sweat carefully since comfort depends on managing moisture. Protect your extremities with merino wool socks and insulated gloves, and wear a warm hat to complete the system. Most people fail at cold-weather dressing because they misunderstand how these layers work together and why each component matters.
Why Layering Is Your Best Defense Against Freezing Weather
Why do experienced winter athletes look like they’re wearing three jackets while casual hikers bundle into one puffy coat and shiver anyway? The answer lies in understanding your layering system. I’ve learned that moisture-wicking base layers pull sweat away from skin—keeping you dry where it matters most. Your mid layer then traps warmth through insulation, while your outer layer shields against wind and snow. This integrated approach manages moisture and temperature simultaneously, something a single bulky coat simply can’t achieve. You’re not just stacking clothes; you’re creating climate control. The benefit is modularity: add or remove layers as conditions shift. It’s practical, efficient, and effective once you grasp how each component works together for sustained warmth.
The Three-Layer Foundation: Base, Mid, and Outer
I’ve found that the three-layer system—base, mid, and outer—works because each layer tackles a specific job: your base layer wicks moisture away from skin (cotton’s nemesis), your mid layer traps the heat you’re generating, and your outer layer shields you from wind and precipitation like a bouncer at the door. What makes this approach useful is its modularity; you’re not locked into one bulky outfit but rather adjusting what you wear based on whether you’re hiking, standing around, or simply existing outdoors in brutal cold. Think of it less as a rigid formula and more as a toolkit—the real skill lies in knowing when to add, remove, or ventilate each layer.
Base Layer Moisture Management
How’s this for a plot twist: the closest layer to your skin—the one that seems least important—is actually your entire system’s MVP. Your base layer handles moisture management, wicking sweat away from your body to keep you dry and warm. I’d recommend merino wool or technical synthetics; skip cotton, which traps moisture like it’s got a personal vendetta against you.
The material you choose matters based on your activity level. If you’re moving constantly, pick a thinner base layer with aggressive wicking properties. Staying relatively still? Go thicker for better heat retention. Some modern options feature Heatwave Technology, reflecting body heat back without adding bulk—basically a solid engineering feat in polyester form.
A snug, tucked-in fit lets this foundational layer actually perform its job effectively.
Mid Layer Heat Retention
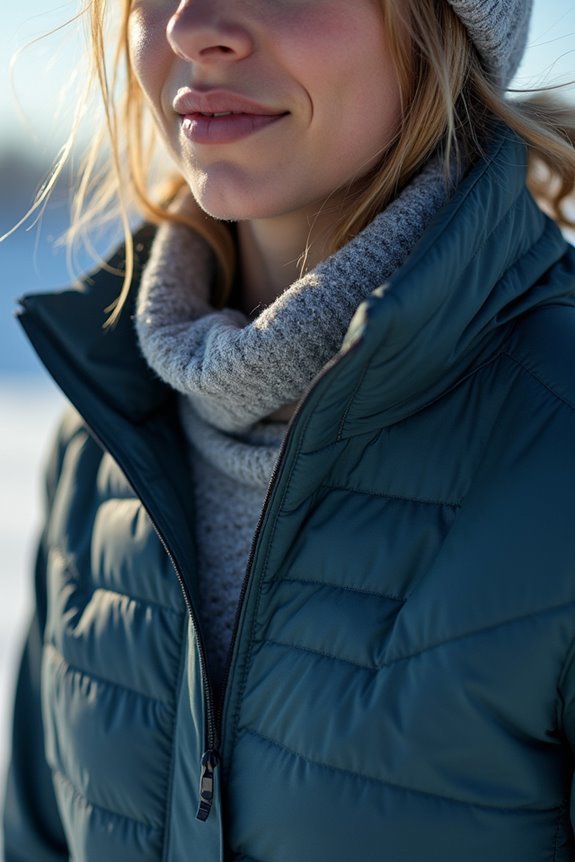
Once you’ve nailed your base layer, the mid layer becomes your system’s heat engine—the component that traps warmth while letting moisture escape to your outer shell. I’ve found that wool, fleece, and functional fabrics excel here because they maintain insulation even when damp, a feature your moisture-wicking base layer alone can’t deliver. Heat retention happens through air pockets and loft, which create dead space that holds warmth. You’ll want your mid layer loose enough to trap air yet snug enough to layer seamlessly with your base and outer shell. A full-zip design provides effective ventilation during intense activity. Match thickness to temperature and movement intensity, and you’ve built a layering system that actually works.
Outer Layer Weather Protection
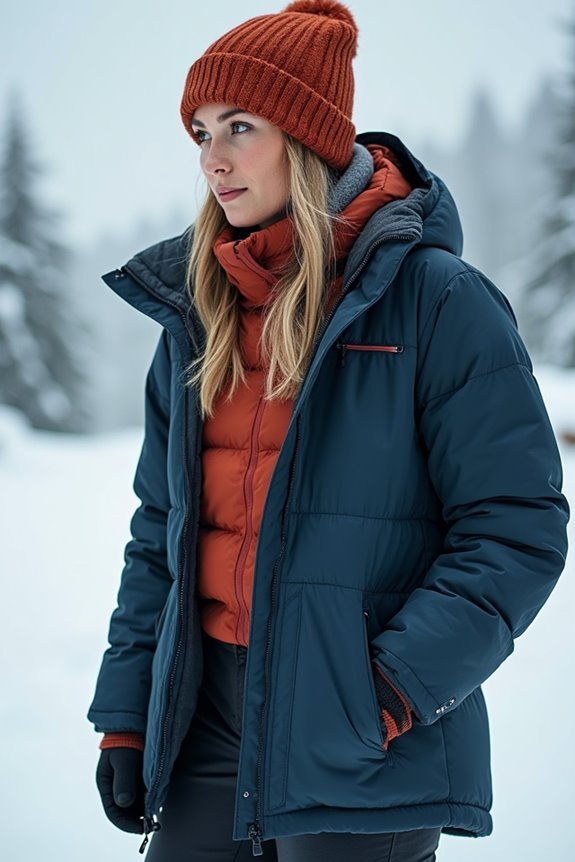
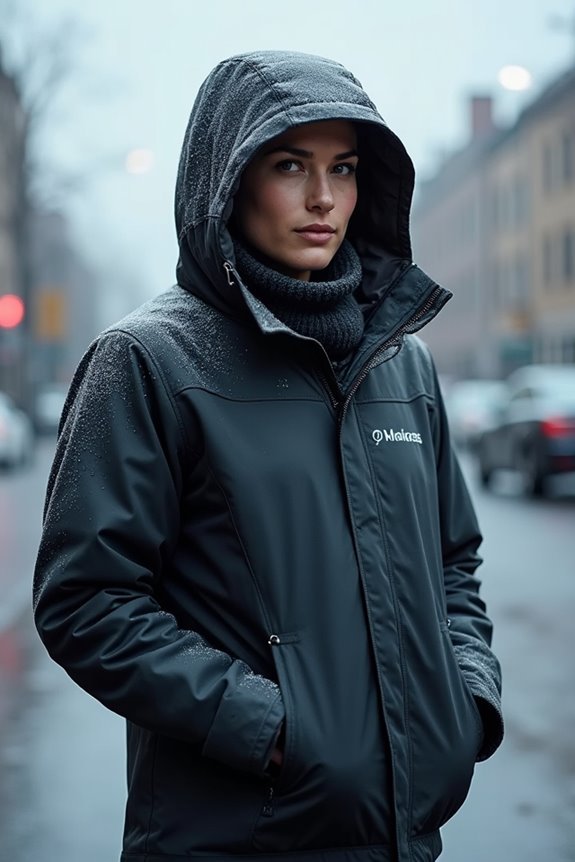
Why does your outer layer matter more than you’d think? Because it’s your final defense—the barrier between you and brutal conditions. A quality weatherproof jacket with taped seams keeps heavy rain and snow from penetrating your entire layering system. You’ll want windproof construction that doesn’t sacrifice breathability; otherwise, moisture from your mid and base layers gets trapped, leaving you clammy and uncomfortable.
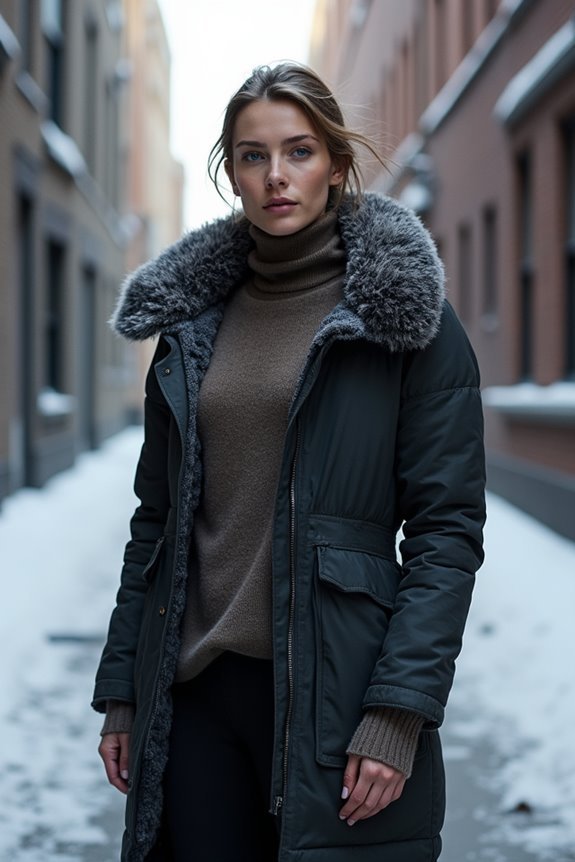
Choose insulated outer layers with high neck coverage and adjustable hoods and cuffs—these seal out drafts where cold air sneaks through. The trick is balancing protection with mobility; your outer layer should fit comfortably over your insulation without adding excessive bulk. When you achieve this balance, you have a layering system that functions as an integrated whole.
Base Layer Essentials: Moisture-Wicking for Dryness
When you’re bundled up in freezing temperatures, your base layer’s fabric choice makes or breaks your comfort—merino wool and synthetic blends wick moisture away from your skin, keeping you dry, while cotton (despite its popularity) basically turns into a damp sponge that works against you. The science here is straightforward: moisture-wicking materials pull sweat outward through the fabric’s structure, allowing it to evaporate before it can cool your body, whereas cotton traps that moisture against your skin, which is about as useful as a screen door on a submarine. Think of it this way—your base layer isn’t just clothing; it’s the moisture-management foundation that determines whether you’ll feel warm and comfortable or cold and miserable for the next eight hours outdoors.
Moisture-Wicking Fabric Selection
How’s this for a chilling reality: the fabric touching your skin in freezing weather matters more than you’d think, and cotton—that seemingly innocent wardrobe staple—is your worst choice when temperatures drop. I’ve learned that merino wool and technical synthetics work better, offering superior moisture-wicking that keeps you dry. Here’s what sets them apart: they pull sweat away from skin, preventing that miserable damp-and-cold sensation that’ll sabotage your comfort. For a winter-weight base layer, you’ll want that snug fit against your body—snug enough for moisture management without restricting movement. The cotton-free approach isn’t about following trends; it’s practical science. When you’re serious about staying warm, your base layer selection determines everything that follows in your layering strategy.
Material Performance and Dryness
The difference between staying dry and miserable comes down to what your base layer’s actually doing against your skin. I’ve learned that material performance determines whether you’ll stay comfortable or regret every decision.
Here’s what separates winners from the perpetually damp:
- Merino wool and technical synthetics manage moisture by moving sweat outward, preventing that awful clammy feeling that cotton lovers know too well
- Breathable fabrics allow vapor to escape while trapping warmth, creating the right balance for heat retention
- Moisture-wicking properties pull perspiration away from skin faster than you’d think possible
- Dryness maintenance keeps your core temperature stable, which matters when it’s freezing
You’re investing in a base layer that respects your body’s needs. The right choice between merino wool or technical synthetics means the difference between staying warm and just theoretically insulated (the latter being worse, honestly).
Mid Layer Strategy: Heat Trapping Without Bulk
Why’s everyone obsessed with buying the thickest winter jacket when what you really need is something cleverer underneath? Your mid layer does the real work—trapping heat while letting moisture escape, so you’re not soggy and miserable. I’ve learned that wool, fleece, or synthetic fabrics work best because they insulate even when damp.
| Temperature | Activity Level | Best Material | Key Feature |
|---|---|---|---|
| Below 0°F | Moderate | Wool blend | Heat trapping |
| 0-20°F | High intensity | Synthetic fleece | Moisture-wicking |
| 20-40°F | Light activity | Merino wool | Breathable insulation |
| Variable conditions | Mixed exertion | Full-zip fleece | Adaptable ventilation |
Match thickness to conditions and pair your mid layer with a base layer and outer shell—that’s your winning layering system. A full-zip option? Useful for managing exertion without overheating.
Outer Layer Protection: Your Wind and Rain Shield
Once you’ve nailed your base and mid layers, you’ve still got one critical job left—keeping the actual weather off your skin. Your outer layer is your rain shield against nature’s relentless assault. I’d recommend investing in a waterproof shell featuring taped seams, which prevents water from sneaking through stitching (it’s surprisingly persistent). Here’s what separates effective outer layers from mediocre ones:
- Windproof construction that blocks harsh gusts without trapping sweat
- Water-resistant materials maintaining breathability during active movement
- Adjustable hoods and cuffs sealing cold air gaps effectively
- Lightweight design balancing weatherproofing with mobility
The trick isn’t just buying something waterproof—it’s finding a jacket that breathes while protecting. Your outer layer works best when it complements your underlying layers, creating a cohesive system rather than fighting against them. That’s what genuine cold-weather preparation looks like.
Adjust Layers as You Move: When to Add and Remove
Because your body’s heat output constantly shifts with activity and environmental conditions, static layering is basically a recipe for misery—you’ll either freeze during rest breaks or sweat through your base layer while hiking uphill. I’ve learned that timing matters enormously. When I start moving, my moisture wicking base layer and mid layer insulation handle most work. As exertion increases, I shed my outer shell for ventilation. During rest breaks, I immediately add layers back; heat loss happens fast when you stop moving. Monitor your sweat level carefully—if your base layer’s damp, you’re overheating and need ventilation adjustments.
| Situation | Action |
|---|---|
| Starting activity | Begin slightly chilly with all layers |
| Mid-hike intensity increases | Remove mid or outer shell |
| Rest break begins | Add insulation back immediately |
This adjust-as-you-go approach keeps you comfortable, dry, and ready for whatever conditions throw at you.
Common Layering Mistakes That Cost You Warmth
How many times have you stepped outside only to realize—halfway through your hike—that you’ve either sweated through your clothes or you’re shivering despite wearing seemingly enough gear?
I’ve learned that layering mistakes cost real warmth. Here’s what trips us up:
- Skipping the base layer entirely – moisture wicking fails, leaving skin cold and damp
- Choosing non-wicking cotton – absorbs sweat, stays wet, dramatically reduces insulation as you move
- Over-layering without flexibility – traps sweat, causes overheating during activity and rapid cooling when you stop
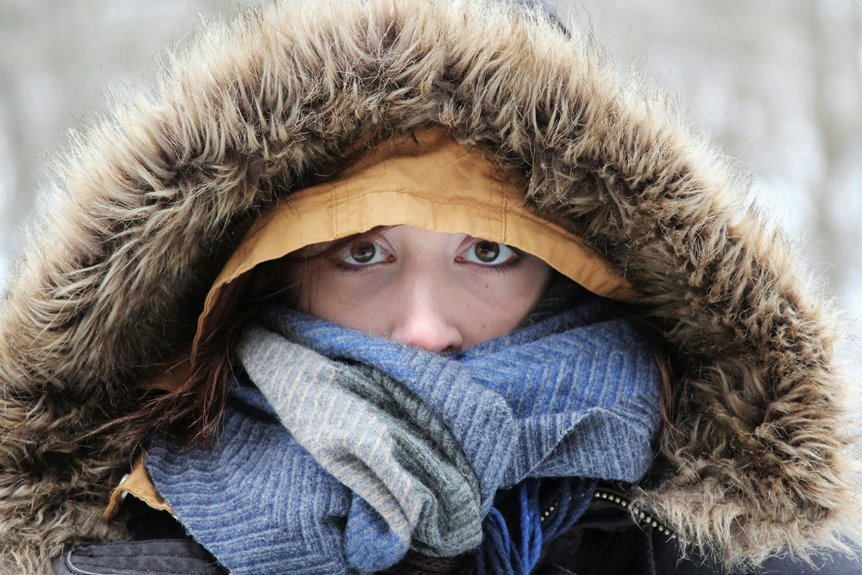
- Neglecting exposed skin – faces, necks, hands in sub-zero conditions accelerate heat loss and raise frostbite risk
The truth? Your insulated jacket won’t save you from poor layering mistakes. Instead, plan for weather changes, wear snug (not tight) layers, and cover everything. That’s how you stay warm.
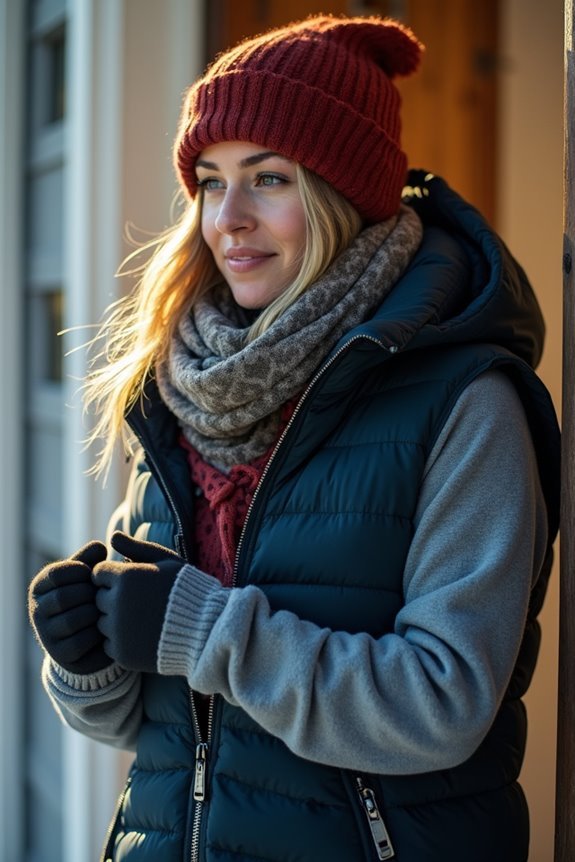
Complete Your System: Protecting Hands, Feet, and Head
Your torso might feel toasty under three layers of fleece and down, but your fingers go numb after ten minutes—and suddenly, you’ve discovered the hard way that a solid layering system only gets you halfway to comfort. I learned this lesson the hard way.
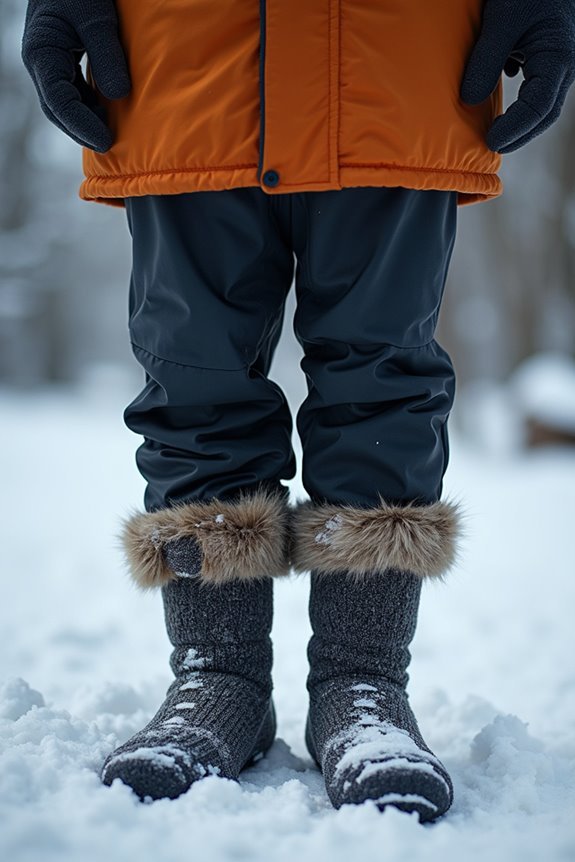
Here’s what actually works: protect your extremities with moisture-wicking base layers beneath insulated, wind-resistant gloves or mittens. Your feet deserve attention—invest in merino wool socks with a dry spare pair and insulated footwear featuring deep treads for traction. Pay attention to your head as well. A warm hat or balaclava, paired with a hooded outer shell, minimizes heat escape from your neck and ears during sub-zero winds.
This complete layering system changes you from a shivering torso to actually warm.